The first step in getting started with Weekly is to build your budget.
When you first launch Weekly, we will go through a walk-thru of building your budget. Here’s a guide to the Onboarding process page by page.
Income
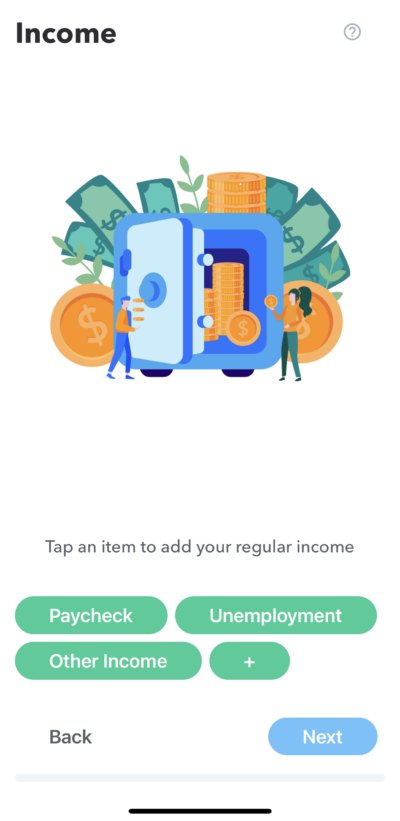
And the first step in building your weekly budget is to put in your regular income, which is a combination of how much you are paid and when you are paid it. Income is considered regular if it happens at set intervals and the amounts are exactly or nearly the same every time. If your income is lumpy or irregular, please read about “What do I do if my income is lumpy or irregular?“
Tap on “how often” to pick your pay interval.
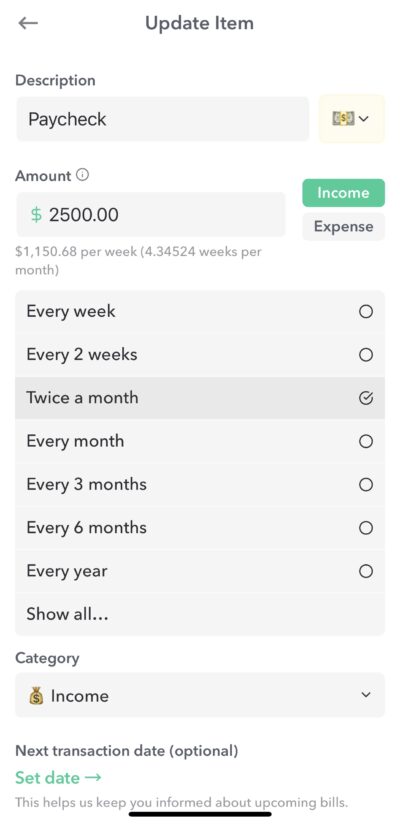
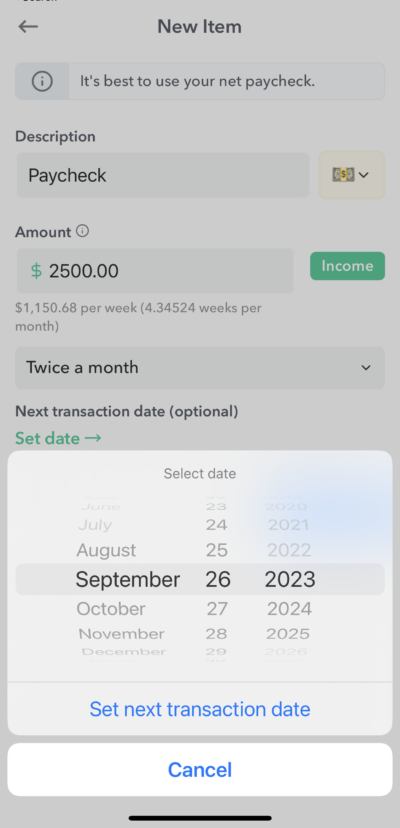
The tap “Set date” to select the next date.
After you input your regular income you will see it shows up on the Income page the amount you entered and its weekly equivalent.
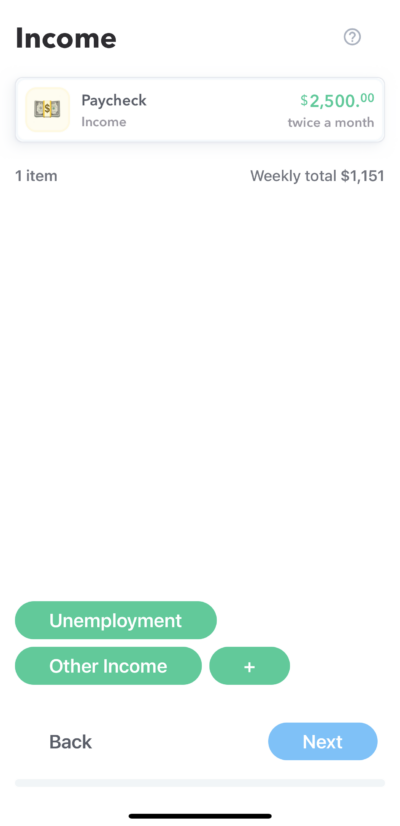
If you receive other income that is regular, you can add them by tapping on the other green pills.
Expenses
The next onboarding screens are all about putting in your committed expenses. Expenses are considered “committed” if they have set amounts and happened at pre-determined intervals. So this includes things like rent, utilities and subscriptions. These do not include things like gas and groceries, which we call “day-to-day” transactions.
Note: It can be helpful to have your latest transactions and statements available to look at as you are going through the onboarding process to help find all your recurring expenses.
The Onboarding flow will walk you through the following main categories of committed expenses.
- Housing
- Bills & Utillities
- Transportation
- Loan payments
- Subscriptions
- Health / Beauty / Fitness
- Education
- Kids
- Donations
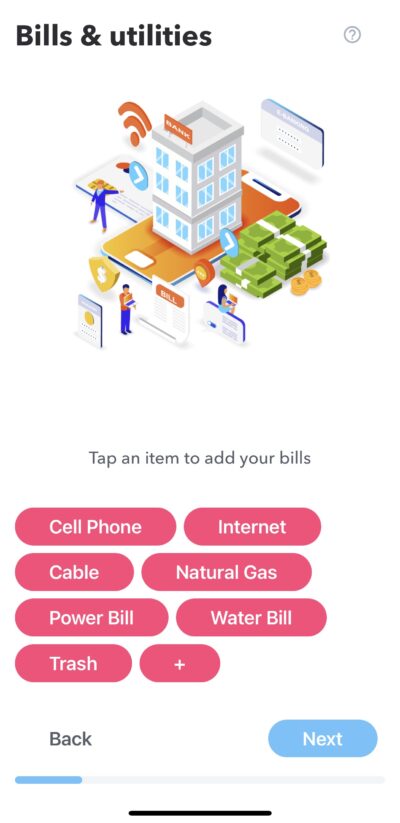
Each of these main categories will also have different “pills” to help prompt you to remember all potential expenses. So for example, under “Bills & utilities” you will see pills for “Cell phone”, “Internet”, “Cable”, “Natural Gas” etc… If you don’t have those expenses you can ignore any pills, or if you have an recurring expenses that is not default included as a pill you can add it in by tapping “+”.
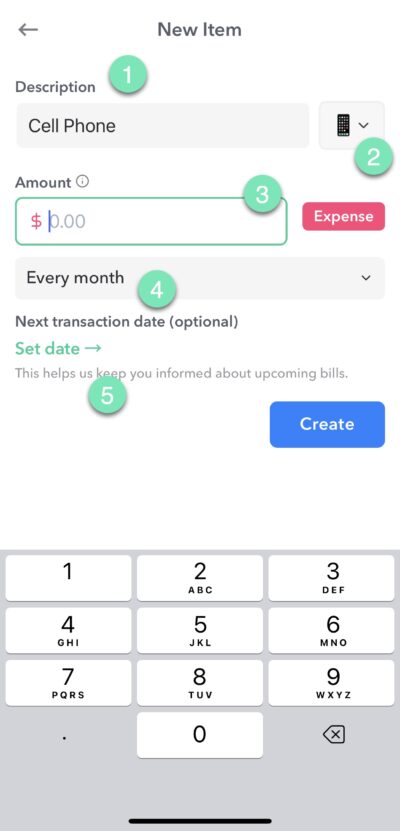
When adding in a recurring expense, you can define
- Description – What the transaction is.
- Emoji – A fun icon that will appear every now and then while using the app.
- Amount – How much the transaction is.
- Frequency – How often the bill occurs, for example, monthly, quarterly or other interval.
- Next transaction date – Setting the next transaction date is helpful when it comes to the “Upcoming Items” report in the Dashboard. If you don’t know your next transaction date, don’t worry, we will automatically set one the first time you review and add a transaction associated with that expense.
Funds
After putting in your expenses, you will have the opportunity to enter Funds. (Funds is a PRO feature.)
Funds are a way to set aside money for particular purposes. When you create a goal and set this money aside in a Fund, it is taken from your Safe-to-Spend.
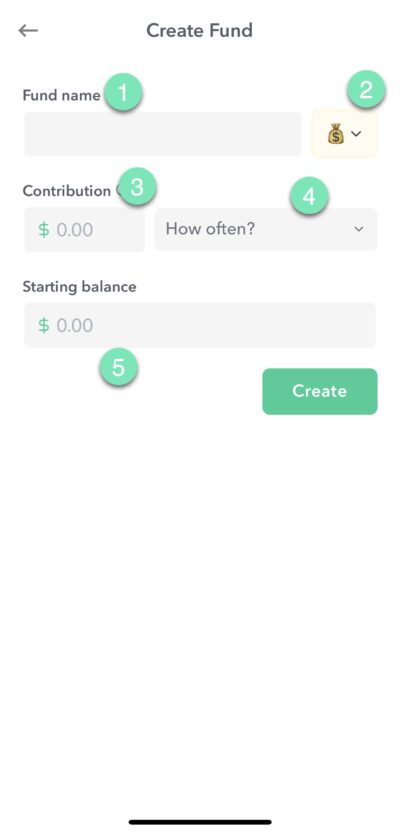
To create a fund you enter
- Fund name
- Emoji (Optional)
- The amount you want to contribute
- How often you want to contribute the amount
- Starting balance – If you have already set aside money for this fund’s purpose, enter the amount of your starting balance here.
Your Weekly Spending Limit
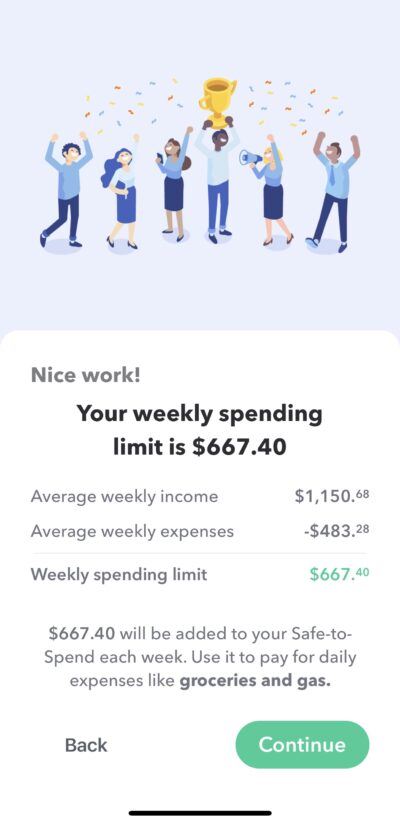
After you enter in all your regular income and recurring expenses and funds goals, you will be presented with your weekly spending limit.
Your weekly spending limit is the amount of money “left over” for your discretionary day-to-day spending.
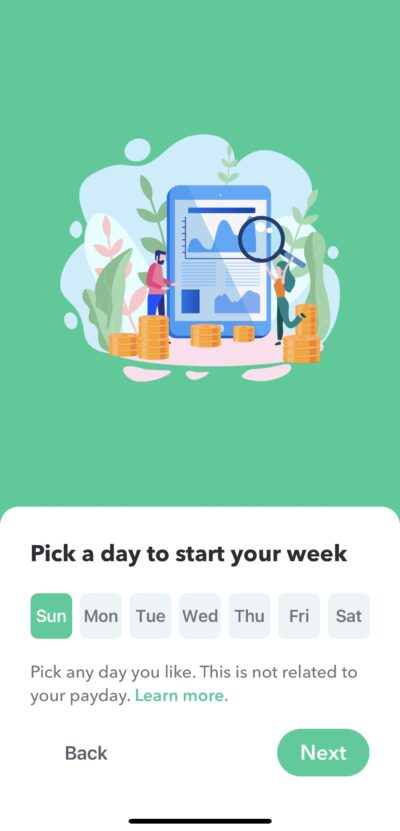
Pick a day to start your week
The next step is to pick a day to start a day to start your week. The day you pick is just the day that is best for you based on when you like to, mentally, have more money. If you say start your week on Tuesday, then on Tuesday, Weekly will add your weekly spending limit to your Safe-to-Spend on that day.
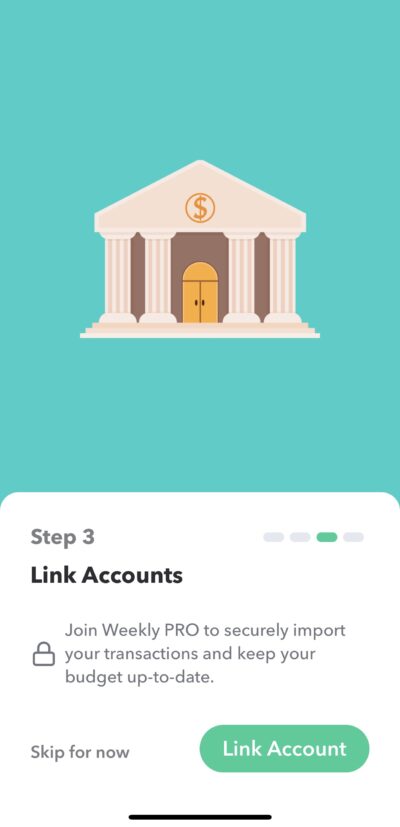
Link Accounts
Now that you know your weekly spending limit, the next step is make a plan for putting in your day-to-day transactions. You can put in your transaction in the following ways.
- Manually
- Downloaded from bank
- A combination of both – we will match your manual transactions to your bank transactions when we download them.
If you want use ease an convenience of downloading your transactions from your bank, this is step were you connect your bank. This is a Weekly PRO feature.
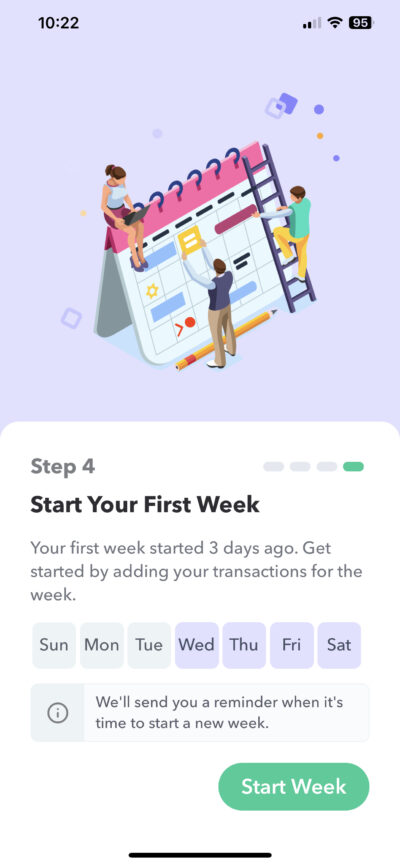
Start Your First Week
We have come to the final page onboarding! Its time to start your first week. This page shows you the days in your first week, which may have already started. Tap “Start Week” to start your first week and move onto the Dashboard.
Additional resource: Watch a complete video of Weekly being setup for the first time with a sample budget.
