You can change how Weekly looks, what your day of the week Weekly starts on and more from the “More” tab.
Weekly Start Day
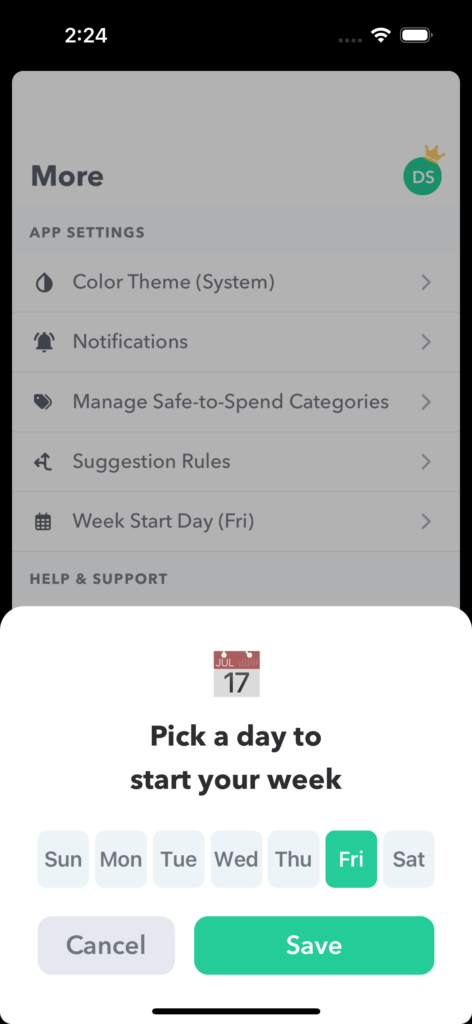
Pick the start day for your week and tap “Save”. The day of the week you choose will be the day that your weekly spending limit will be added into your Safe-to-Spend.
What day should you pick? See more on this in our YouTube video.

Color Theme
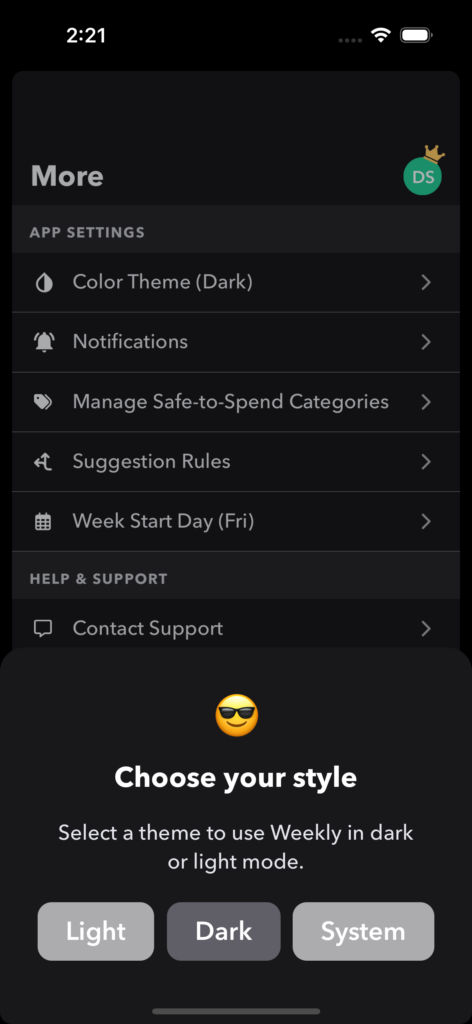
You can set Weekly color theme into “Light”, “Dark” and “System”.
“Light” mode will have a white background, “Dark” will have the black background and “System” will adjust based on your preferences you set inside of “System Preferences”.

Export transactions
If you would like to export transaction, you can under “Export transactions”.
Having an export of the data you put into Weekly can unlock your ability to do your own analysis. For example, you could use your export to do monthly reconciliations, build your own reports, and filter or categorize data to your heart’s desire. The export includes lots of data including the transaction date, amount, how it was categorized (Safe-to-Spend, Recurring, etc.), which bank account it was linked to, and a category assigned by your financial institution (see below for a full breakdown of all data).
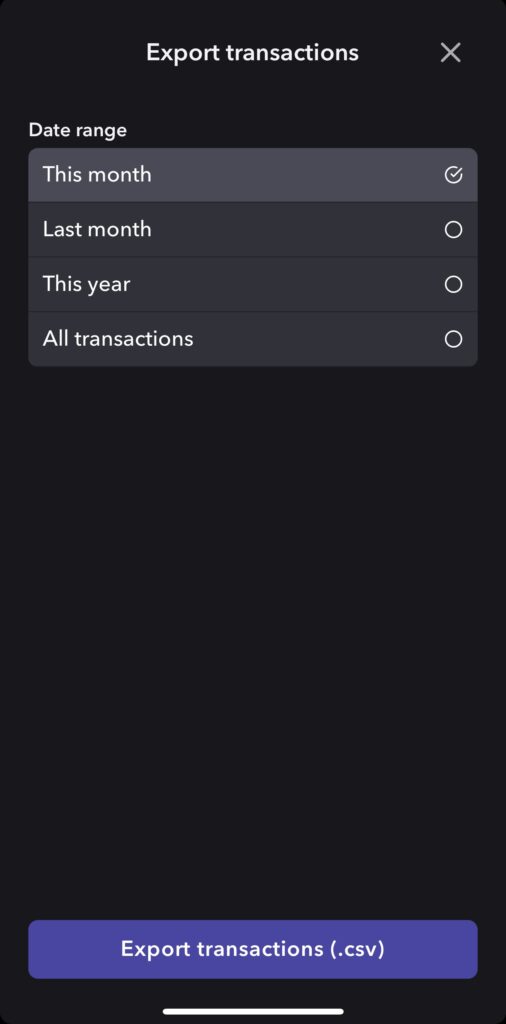
When you tap “Export transactions”, you will be given the option to chose the date range of the export.
- This month
- Last month
- This year
- All transactions
Read more details about the data you receive in our Knowledge Base article “Exporting Transactions”

Review budget items
When you first start with Weekly, you are guided through first putting in your budget by first adding in your Income, then all your committed expenses from “Housing” all the way through to “Donations”.
If you get to the end of the onboarding process and missed something or ever want to go through it again for any reason, you can by tapping “Review budget items”.
When you review budget items, you do not lose anything you have put in already, you are simply going through the onboarding process again and all your previously input items will be there.
Reset Data
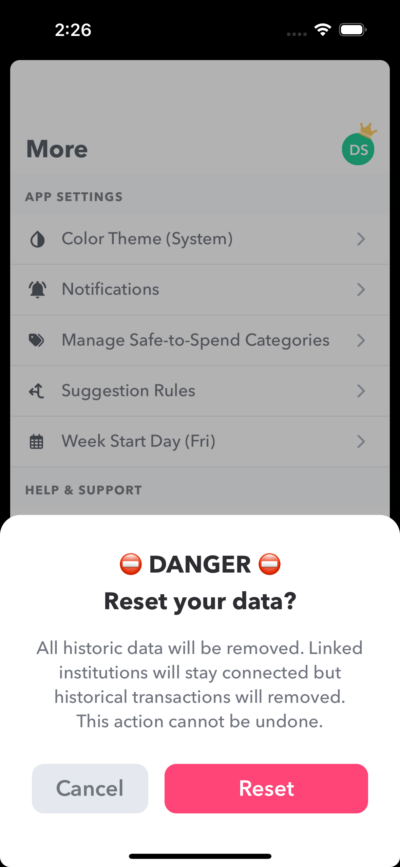
The “Reset data” option will completely reset your data and allow you start over fresh. All your weeks, budgets, funds and transactions will be removed. The only thing that doesn’t get removed is your linked institutions. If you want to remove an institution you’ll need to remove it directly.
Tapping “Reset data” will give you a prompt to confirm you want to remove all your data. After starting over you’ll be directed back to the onboarding flow and start setting up your budget.
If you want to delete your account you’ll do that from the Profile page.

